


-180x100.png)


Poultry
 Secrets of successful poultry farming
 How to raise chickens
 A comfortable home for chickens: cages, floor or aviary?
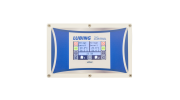
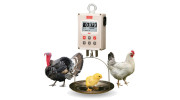
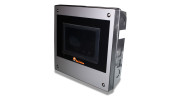
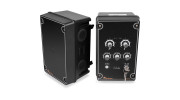
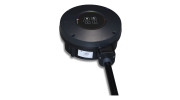
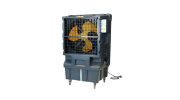
 A smart microclimate: comfort, control and stability
 Feeding and watering without worries
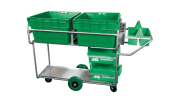
 Egg collection and cleanliness - automated
 Light and heat - the basis of bird health
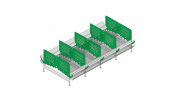
 Poultry houses and turnkey solutions: VADA experience
Independent hatching chicken eggs and caring for winged babies from the first minute of their life is a dream not only for experienced poultry farmers. Thanks to VADA equipment and a few proven tips, raising healthy, cheerful chickens becomes a reality even for novice amateurs. In this guide, you will learn what watering and feeding equipment you will need, how to arrange a microclimate and what to pay attention to in the first critical days so that the fluffy chicks grow strong and grow without unnecessary hassle.
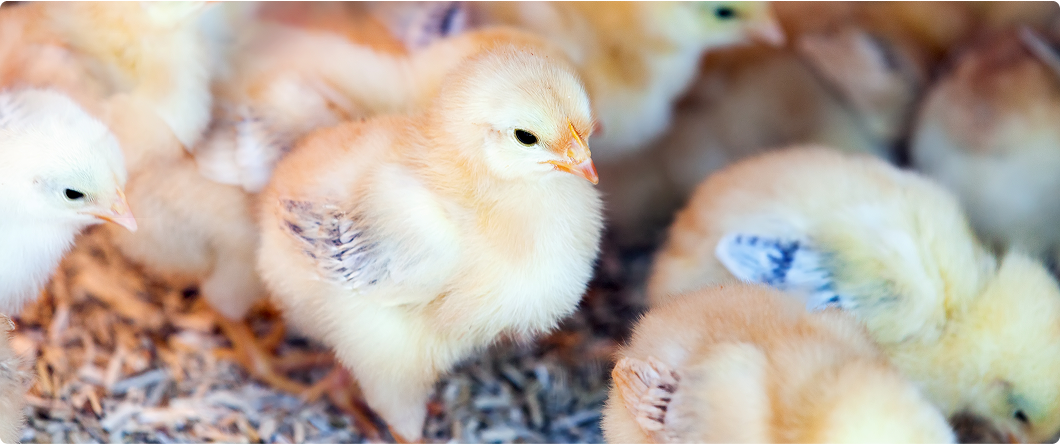
Raising chickens is both a joy and a responsibility. As soon as the egg cracks, the little beaks need warmth, water, food and your careful supervision. To keep the fluffy babies growing up cheerful and healthy, keep just a few proven "secrets" at hand.
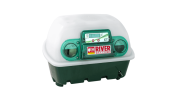
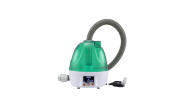
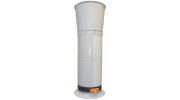
1. Incubator – a warm “first home”
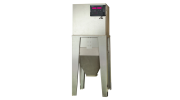
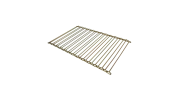
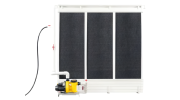
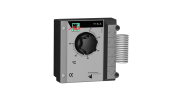
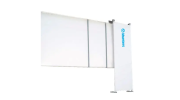
The heart of any brood is the incubator. A desktop model for 24–60 eggs with a digital thermostat maintains a stable 37.8 °C and the right humidity, and an alarm will tell you if the parameters “float”. Even if this is your first time putting eggs on the grid, automatic or semi-automatic turning will do the job for you.
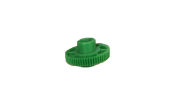
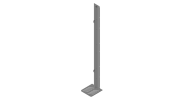
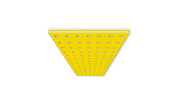
2. Heating for chicks
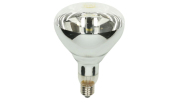
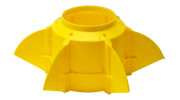
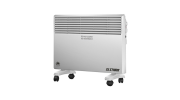
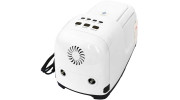
Newborn chicks cannot yet regulate their body temperature, so they should be kept at ≈ 32 °C under a lamp or ceramic heating panel. Lower it gradually – by a degree or two every week, until the chicks are covered with real feathers.
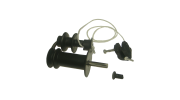
3. Food and water are the fuel for growth
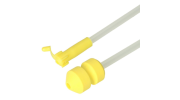
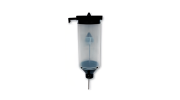
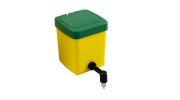
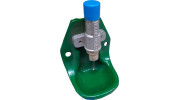
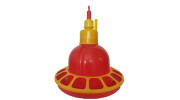
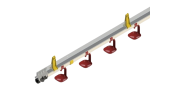
Fluffy cats grow quite quickly: in the first month they can triple their weight. For such a jump, you need a high-protein starter feed and constant access to clean water. A low bell drinker or drip system does not overflow and keeps the litter dry.
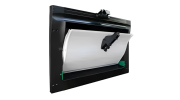
4. Litter - dry paws = healthy paws
Fresh shavings or granulated straw absorb moisture and insulate from the cold bottom. Change the top layer every two to three days, and once a week - completely. A clean floor reduces the risk of coccidiosis and keeps the room free of excess odors.
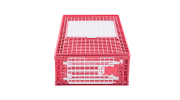
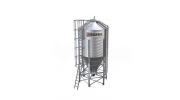
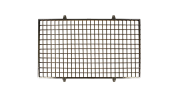
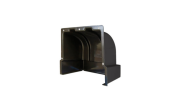
5. Cozy housing – shelter from drafts and curious predators
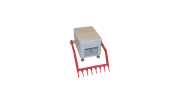
A plywood brooder 60 × 120 cm with a mesh lid is enough for a dozen or so chicks. Make sure there are no temperature drops in the corners, and leave a shaded "resting corner" where the chicks can hide.
6. Cleanliness and hygiene
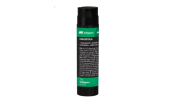
Cleanliness and hygiene are crucial for the health of the chicks. Thoroughly clean the place where the chicks live. Remember, if the food gets wet, mold will appear on it, and it will become unsuitable for the chicks. Be sure to rinse the water before filling it - this is very important, as many parasites and diseases can spread quickly through contaminated water. Therefore, you should have disinfectant, disposable gloves and paper towels ready.
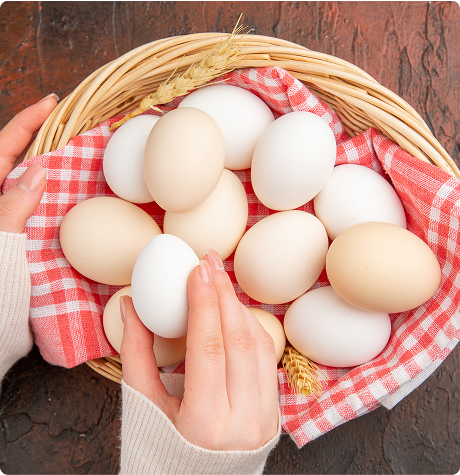
It all starts with an egg — a fertilized one, of course. If you don’t have a rooster or your own laying hens, don’t worry: you can find the eggs you need from neighboring farmers or from trusted breeders online. The main thing is that their chickens live in a clean environment, have high-quality feed and vaccinations, and the breed is right for you (whether they are quiet egg-laying “machines” or decorative beauties).
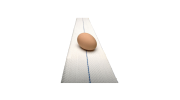
Before putting eggs in an incubator, inspect each one under a lamp: the shell is free of cracks and dark spots. Eggs that are no more than a week old work best. Store them with the blunt end up at +12 ... 15 °C and high humidity, and before laying, let them warm up to room temperature so that condensation does not form inside.
That's it: find the "right" supplier, select whole eggs and let them rest a bit before the incubator - this way you will have a better chance of having a friendly, healthy brood of fluffy babies.
Incubation: the path from egg to chick
The eggs are ready to hatch - now it's time for the incubator. For everything to go well, it is important to maintain the right microclimate: the temperature should be around 37.8°C, and the humidity should be kept within 55–75%. Before laying the eggs, let the incubator run for at least 24 hours. This will help stabilize the parameters inside and avoid sudden fluctuations that can affect the development of the embryos.
The incubator should be placed in a quiet, draft-free room with a constant air temperature of 17–25°C. Excessive humidity or dryness of the air in the room, as well as temperature fluctuations, are common causes of unsuccessful incubation.
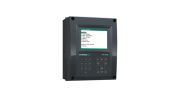
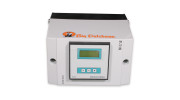
Modern incubators make it easy to control the temperature and humidity - everything is visible on the display. Turning the eggs also does not need to be done manually: the motor gently turns them several times a day, and this is important so that the embryo does not stick to the shell.
Now it’s time to wait. Chicken eggs usually hatch after 21 days. Three days before this point, you need to stop turning, remove the partitions between the eggs and ensure peace. During these days, it’s important not to open the lid unnecessarily: the stability of humidity and temperature plays a decisive role in the final stage.
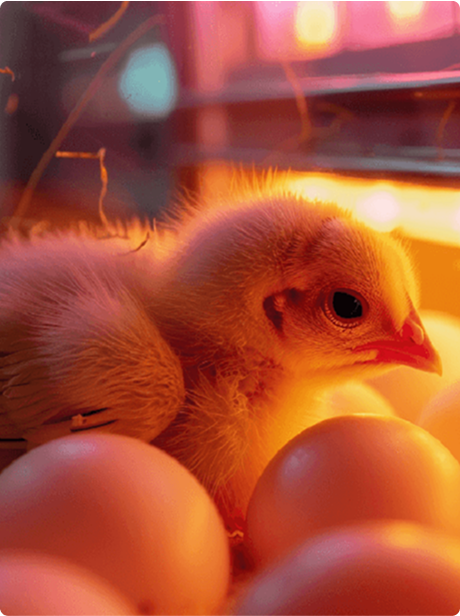
The most exciting part begins right now: the first cracks, the slightest movement, the beak breaking through the shell... Which chick will appear first? It’s always a moment of joy and wonder - and a reward for three weeks of careful care.
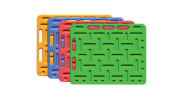
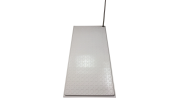
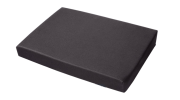
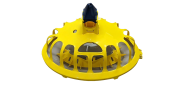
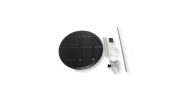
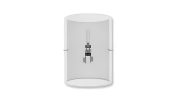
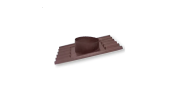
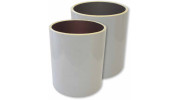
As soon as the chicks are born, leave them in the incubator for about a day - during this time the fluff will turn dry and the chicks will get stronger. After 24 hours, they can be moved to a brooder or a small coop, but remember: in the first weeks, the chicks absolutely need additional heat. The most convenient way is to use a flat heating panel, under which the chicks can easily crawl and warm themselves, as if under the wings of a hen.
The temperature of such a panel is regulated smoothly: if the chicks huddled in a tight bunch - they are obviously cold; if they sat on the edges - it is time to reduce the heat. The built-in thermostat maintains a stable microclimate under the panel and turns on the heating only when necessary, so this solution consumes much less electricity than classic infrared lamps.
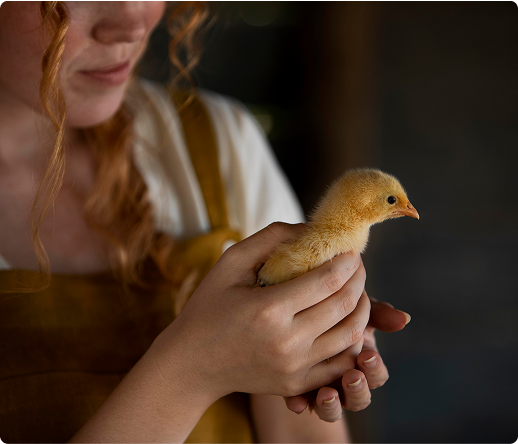
Put a small bowl of clean water and a gentle feeder that will add food to it itself for the little ones, so they will have everything they need at hand. Place them a little further from the heat so that the seeds remain fresh and fragrant. And then - just enjoy the miracle: watch how the fluffy little ones get stronger and grow every day, giving you a lot of joy.